Cambridge Festival of Ideas Photogrammetry workshop

17 October 2018
View the Project on GitHub UniversityofCambridgeMuseums/festivalOfIdeas
This project is maintained by UniversityofCambridgeMuseums
Aligning your photos
Author: Daniel Pett ~ Published: 16 October 2018 ~ Updated: 19 October 2018
Now you have got Photoscan open, you are ready to go. Your first step is to assemble your overlapping images into a sparse point cloud - matching points that will appear in a 3 dimensional grid on XYZ planes.
This is very easy. Follow these steps:
- Download all your images into a folder on your computer (I have an SD card reader and various cables)
- Now go to Photoscan and click Workflow on the top menu
- Choose Add Folder
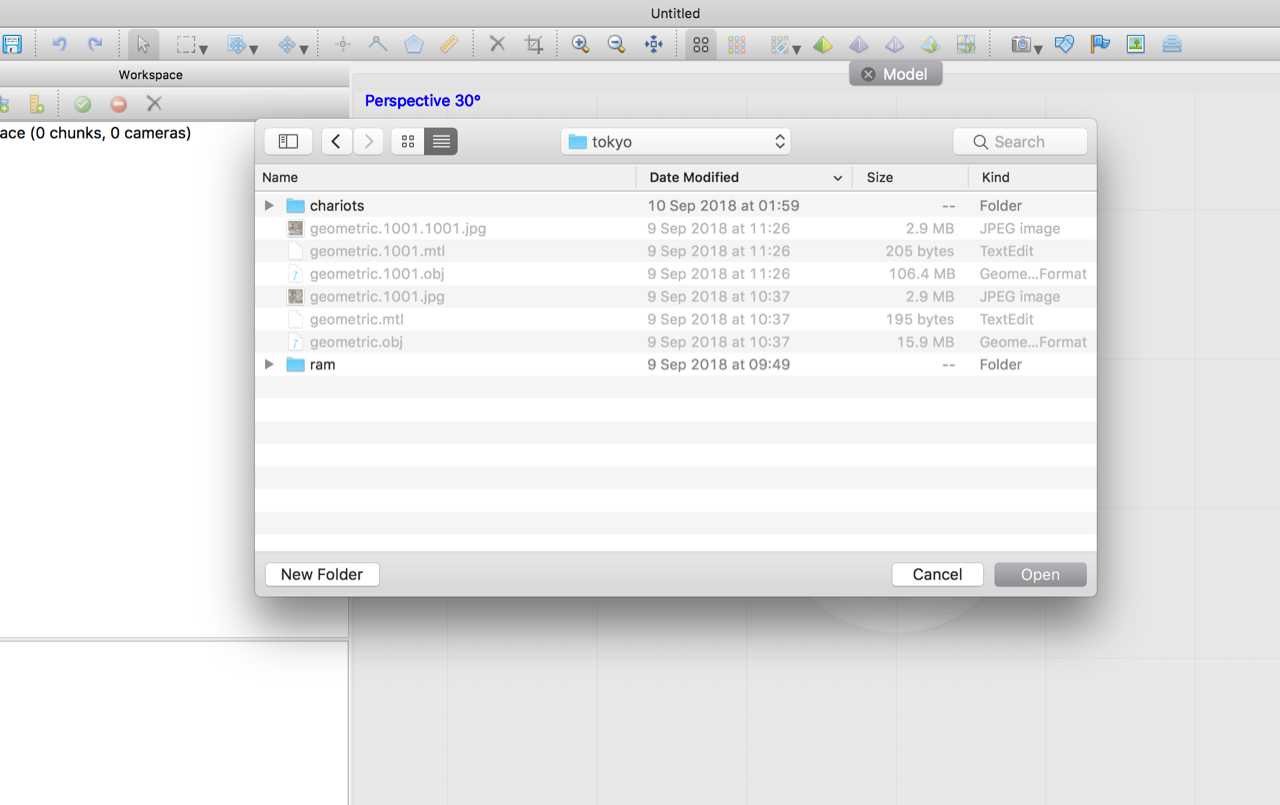
- Navigate to the folder you wish to use and click open
- In the dialogue window, choose ‘Create camera from each file’ and press ok (see image below.)

Your images will now appear in the left hand pane under workspace as ‘CHUNK 1’.
Now you are ready to align. As we’re doing this as a very quick demo. We will use the low setting for all of the steps from here until texture creation.
Alignment can now happen!
- Click *Workflow
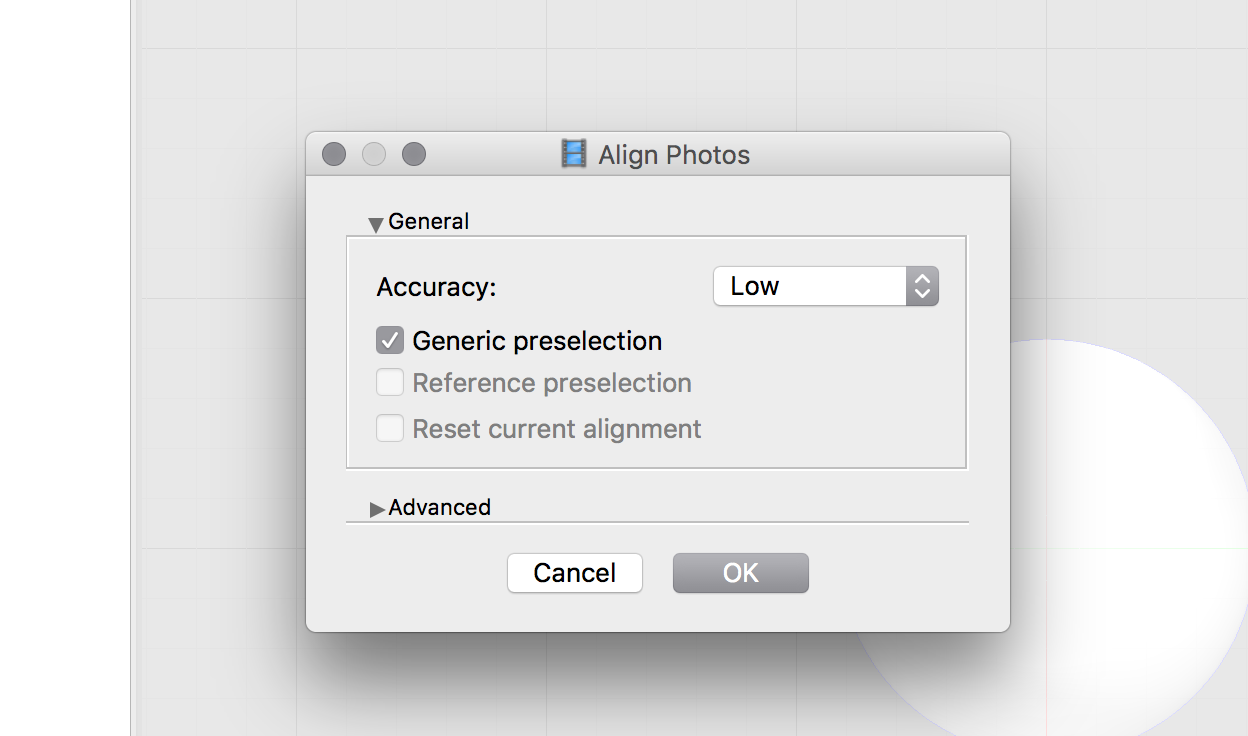
- Choose * Align photos*
- Have ‘Generic preselection’ ticked
- Set accuracy as low
- Press OK

This will then bring up a countdown timer. Have patience, this will take time to process. Go off and see some casts. When time is meant to have finished come back and we are at the next stage.
Now you have aligned your photos, you may see a big blue blob with some overlaid text. This shows your images overlaid on top of each other. To see your sparse cloud, look at the top toolbar and click on an icon that looks like a camera. This turns off the data that shows where each camera is. Now zoom in on the centre of your screen (two finger scroll on OSX) and you should now see a cloud. Go back and click the camera icon again and you can see the alignment.
Previous step: First steps in Agisoft's photoscan Next step: Building a dense cloud